ROS, wherever you are
ROS development on Linux, Windows and macOS
Historically ROS has been developed on top of Ubuntu, relying on the distribution as a stable base providing tools (like GCC, CMake, Python to name a few) and libraries (such as Boost, Eigen, PCL) and following its release cycle (a distribution per year, an LTS every two years). This synergy has worked great for more than 15 years and saw the project and the community behind it vastly grow.
However, being tied to a specific Linux distribution raises all kinds of difficulties. Developing for several ROS distributions can be challenging since they each are tied to an Ubuntu distribution. This challenge increases for ROS newcomers that might not even be familiar with Linux. Similarly, developing ROS on Windows or macOS is anything but a pleasant experience.
In this blog post, we will see how one can set up a ROS development environment whatever one’s operating system is. Indeed, using Multipass, an Ubuntu virtual machines’ manager, it has never been easier to quickly spawn a full-fledged VM rocking Ubuntu. Not only that, we made it so that spawning a VM with ROS pre-installed only takes a single command line. Shall we?
Multipass
The first step of our journey is the installation of Multipass. While we summarize hereafter the installation instructions on Linux, you can find the equivalent instructions for Windows and macOS on the documentation.
On Linux, Multipass ships as a Snap package allowing it to be installed on dozens of Linux distributions. To install it, hit the following in a terminal,
sudo snap install multipass
And that’s just about it, we’re done. Let us verify that,
$ multipass version
multipass   1.11.0
multipassd  1.11.0
Spawning a first VM
With Multipass installed, we can now launch our first VM. And while the installation procedure differs depending on the host OS, the following should run wherever you are.
As a practical case, we will place ourselves in the scenario of developing for ROS 2 Humble, therefore using Ubuntu 22.04. To do so, we will enter,
multipass launch 22.04 --name humble-vm
After hitting enter, the command will spin a little while the VM is being provisioned.
A few moments later, a message such as Launched: humble-vm will appear.
Our Ubuntu VM is ready, let’s make use of it.
To connect to our fresh VM, again it is pretty straightforward. In a terminal enter,
$ multipass shell humble-vm
ubuntu@humble-vm:~$
And boom, here we are!
ubuntu@humble-vm:~$ lsb_release -a
No LSB modules are available.
Distributor ID: Ubuntu
Description:    Ubuntu 22.04.2 LTS
Release:    22.04
Codename:   jammy
We are indeed rocking an Ubuntu 22.04 VM after just three command lines. From there we can follow the ROS 2 Humble installation guide as usual and start developing for ROS 2.
This being said, mind that by default Multipass VMs are pretty constrained. They only use a single core, a single gig of memory and five gigs of disk space. This will be very limiting for a proper ROS 2 development environment. Of course, we can change all of that either when initially launching the VM as shown in the documentation or even after the facts by running the following commands,
multipass stop humble-vm
multipass set local.humble-vm.cpus=4
multipass set local.humble-vm.disk=50G
multipass set local.humble-vm.memory=8G
multipass start humble-vm
While we could keep on going, through the installation hassle of ROS 2 Humble, I promised you a one-liner to set up a fresh ROS development environment, didn’t I?
One-liner to ROS development environment
Multipass in itself is already pretty handy as it is. Three command lines and we find ourselves in a fresh Ubuntu VM. But let’s take it a notch further, shall we? How about three command lines and we find ourselves in a fresh ROS development environment?
To do so, we developed a Multipass blueprint for ROS 2 Humble. A blueprint is a configuration file detailing a set of parameters and instructions that drive the setup of a customized environment. All Multipass environments can be listed as follows,
$ multipass find
Image                       Aliases           Version          Description
…
core22                                        20230119         Ubuntu Core 22
…
22.04                       jammy,lts         20230302         Ubuntu 22.04 LTS
…
docker                                        0.4              A Docker environment with Portainer and related tools
…
ros-noetic                                    0.1              A development and testing environment for ROS Noetic.
ros2-humble                                        0.1              A development and testing environment for ROS 2 Humble.
Among other things, we will find a Core22 image, the 22.04 image we used above, but also a Docker-ready environment and what’s of interest to us now, a ROS Noetic and a ROS 2 Humble environments. Let us see what this is about.
First, let’s cleanup a bit. We will stop, delete and purge our previous VM,
multipass stop humble-vm
multipass delete --purge humble-vm
From a clean sheet, we will now launch our ROS 2 Humble VM making use of the predefined custom environment,
multipass launch ros2-humble --name humble-vm
Again this will take a little while. A little more than previously since this time, not only are we spawning an Ubuntu VM but also installing ROS 2 Humble automatically.
You may see the following message,
launch failed: The following errors occurred:
timed out waiting for initialization to complete
It simply indicates that a Multipass internal timeout expired. The VM does actually continue its setup in the background and you will be able to use it. To get rid of this message, set a larger timer, e.g.
--timeout 600
Once completed, we can connect to the VM as previously mentioned,
$ multipass shell humble-vm
ubuntu@humble-vm:~$
What’s neat is that, not only is ROS 2 installed, the ROS 2 environment is also preconfigured. Upon connecting to the VM, we can issue e.g.,
ubuntu@humble-vm:~$ echo $ROS_DISTRO
humble
ROS 2 Humble is installed, together with common ROS 2 tools, the ROS 2 environment is sourced, rosdep is initialized and updated, colcon’s autocompletion is enabled etc. The VM is by default set to use 2 cores, 4 gigs of memory and 40 gigs of disk space. Ready to go!
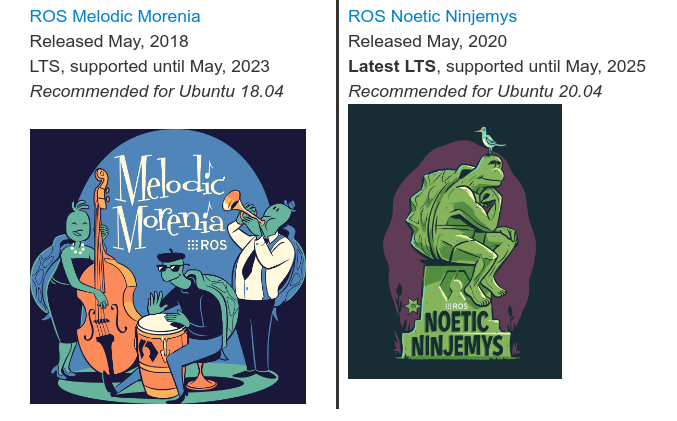
In case you didn’t switch yet to ROS 2, we’ve seen in the list of available customized environments a ROS Noetic one. Similarly to what we’ve just did, you can launch a ROS Noetic VM with a single command line and be ready to develop in no time.
Pro tips
Before letting you explore your new development workflow, I’d like to share a couple tips that smooth daily driving a VM.
Mounting a local folder
We may want to mount a local folder inside our VM. To do so, nothing simpler,
multipass mount /some/local/path humble-vm:/some/remote/path
We can also do that directly at launch,
multipass launch ros2-humble --name humble-vm --mount /some/local/path:/some/instance/path
Adding an SSH key
The second tip is to add our SSH key to the VM so that we can SSH to it. To do so, we will copy our public key to the VM,
multipass exec humble-vm -- bash -c "echo `cat ~/.ssh/<key>.pub` >> ~/.ssh/authorized_keys"
Note that we could also retrieve the key from GitHub,
multipass exec humble-vm -- bash -c “curl https://github.com/<username>.keys | tee -a ~/.ssh/authorized_keys”
To remote connect, let’s first find out the VM’s IP address,
$ multipass info humble-vm
Name:           humble-vm
State:          Running
IPv4:           10.87.167.28
Release:        Ubuntu 22.04.2 LTS
Image hash:     345fbbb6ec82 (Ubuntu 22.04 LTS)
CPU(s):         2
Load:           0.00 0.06 0.09
Disk usage:     6.5GiB out of 38.6GiB
Memory usage:   243.4MiB out of 3.8GiB
Mounts:         --
With that, let us connect,
$ ssh ubuntu@10.87.167.28
ubuntu@humble-vm:~$
We could also make this a one liner,
$ ssh ubuntu@$(multipass list --format csv | awk -F, '$1=="humble-vm"{print $3}')
ubuntu@humble-vm:~$
Note that enabling SSH is the basis for the next tips.
Running graphical applications
Since both Linux and macOS run X by default, in order to launch a graphical application from the VM, all we need to do is to establish an X forwarding SSH session,
ssh -X ubuntu@10.87.167.28
Let’s try that. Running the command
ubuntu@humble-vm:~$ ign gazebo
should start (Ignition) Gazebo and display the following assistant,
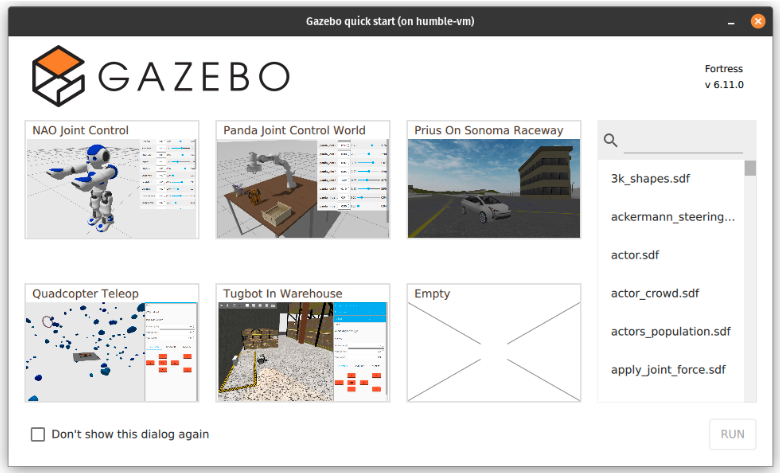
For the reader on Windows, you will need to install an X server and export the DISPLAY environment variable.
All of this is detailed in the online documentation.
VSCode remote-ssh
If your IDE of choice is VSCode, you’re in luck. Indeed, among the many plugins it offers, VSCode has a ‘remote-ssh’ plugin that allows us to, as its name suggests, do some remote development. We can then code from the comfort of our IDE directly into the virtual environment.
First make sure you have installed the plugin, either directly from VSCode’s extension tab,
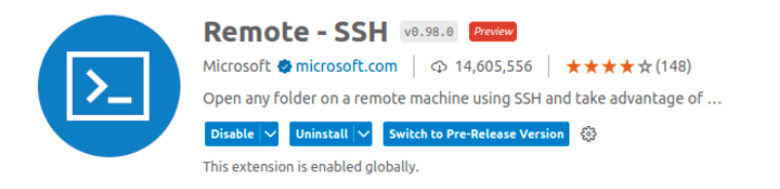
or using the following command in a terminal,
code --install-extension ms-vscode-remote.vscode-remote-extensionpack
We can now launch VSCode and open a remote connection as described in the documentation or again directly from the terminal,
code --folder-uri vscode-remote://ssh-remote+ubuntu@10.87.167.28/home/ubuntu
We should see a VSCode window opening and pointing to the VM’s $HOME,
Conclusion
We have seen in this blog that no matter the operating system your machine is running on, you can easily install Multipass and use it to launch, not only an Ubuntu virtual machine but a ROS-ready virtual machine. This kind of development workflow offers a great deal of flexibility enabling you to work on several ROS distributions at once. It also allows for isolated and reproducible workflow, which in the age of complex software development is very valuable.
In the case you are running Linux, you may also be interested in containers rather than full blown virtual machines. Have a look at my previous post that details how you can set up a ROS 2 development container using LXD: “Setting up ROS 2 Humble with LXD”.